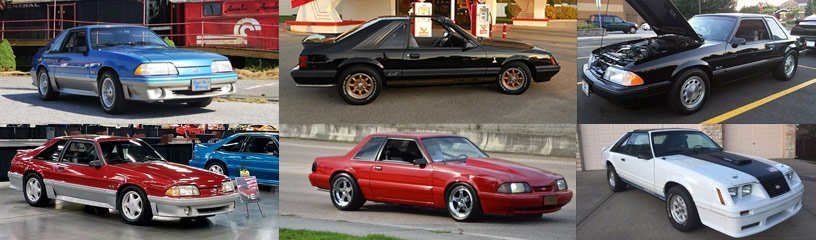
Tired of the old faded look of your Foxbody’s trim and wondering what type of Trim Paint to use? In this post I am going to guide you on how to restore your trim with; Foxbody Trim Paint options. Let me start off by mentioning how important it is to use the right products for this job. You are only as good as your tools, therefore it is important you have the right ones. Lots of people ask me what types of materials and paints I use and I will share all of this information with you.
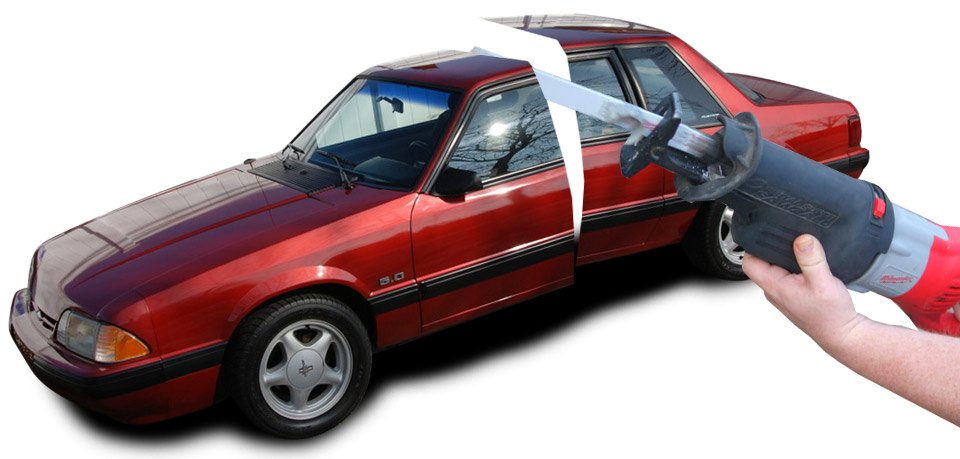
I will also be showing you how to properly remove, repair and prepare your trim for Foxbody Trim Painting that lasts in the video posted below. Here are the general steps to follow;
- Remove all existing trim without breaking clips
- Clean all of the trim and glass on your car
- Scuff all trim with appropriate grit sandpapers
- Make any repairs required with putty
- Clean and scuff with a purple scotch pad
- Prime (if required) then apply your Trim Paint of choice
Foxbody Trim Paint Tutorial
Trim Paint Options
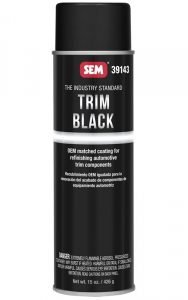
Below is the Foxbody Trim Paint product I used in the video which does NOT require primer.
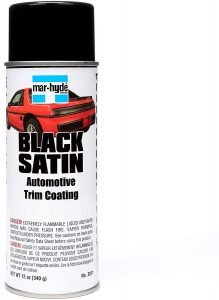
If you want some other great products to consider check out the below. You will have to prime your surfaces first especially if you have bare metal present.
- MARHYDE: https://www.3m.com/3M/en_US/company-us/all-3m-products/~/Mar-Hyde-Black-Satin-Automotive-Trim-Coating/?N=5002385+3293193909&rt=rud
- SEM: https://www.semproducts.com/product/trim-black
![]()
The video and the links provided in this post should provide you with everything you need to know to make your Foxbody’s trim look new again.
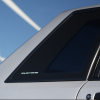
If you are looking at how to restore your Foxbody 1/4 quarter Window Moldings, check out my other post: http://www.foxstang.com/diy-foxbody-quarter-window-moldings/